If there is only a C: drive on the system disk, it is highly recommended to shrink it to create more volumes, as you should avoid installing everything onto the system partition. Conversely, if the C drive is running full, you can shrink the D drive or other data volumes to increase C drive space without data loss. To help you shrink a partition in Windows Server 2016, a native "Shrink Volume" function is built into the default Disk Management tool. This utility can successfully shrink NTFS and ReFS partitions without losing data in most scenarios. However, many administrators report that they cannot shrink the C drive in Server 2016, or they cannot shrink a data volume to extend the C drive. This article explains why Disk Management is unable to shrink volumes in Windows Server 2016 and provides practical solutions for when you encounter this issue.
Why You Cannot Shrink C Drive in Windows Server 2016 Disk Management
There are three common reasons why you might be unable to shrink the C drive in Server 2016 using the built-in Disk Management console.
Reason 1: File System Error
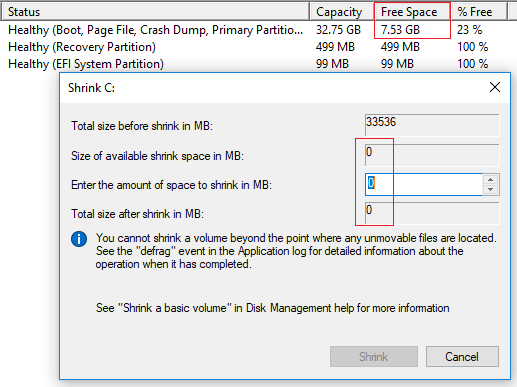
As shown in the screenshot, there is 7.53 GB of free space available on the C drive, yet Disk Management indicates that no space can be reclaimed in the shrink layout window.
Solution: In this scenario, follow the step-by-step instructions below to scan and fix any file system corruption:
- Press Windows + X together on your keyboard and run Command Prompt as an Administrator.
- Type chkdsk c: /f /r and press Enter in the CLI command window. (Simply replace "c" with the appropriate drive letter if you wish to repair the D drive.)
- For the system partition C, Chkdsk will report that it cannot lock the current drive and will ask if you want to schedule this task for the next time the system restarts. Type Y and press Enter.
- Restart the server to allow the system to automatically repair the volume.
Reason 2: Not Enough Space Available
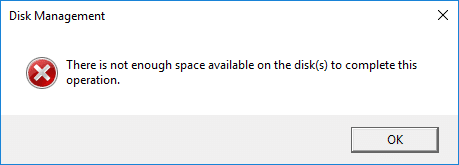
After clicking the "Shrink" button within Disk Management, you may receive an error alert stating: "There is not enough space available on the disk(s) to complete this operation."
Reason: Disk Management automatically fills in the maximum available shrinkable space by default. If any automatic Windows updates or other large server files are written to the C drive while the dialog window is open, the actual available free space drops below the calculated amount.
Solution: In this case, simply exit, run the Shrink Volume wizard again, and input a smaller, safer amount of space to shrink.
Reason 3: Unmovable Files
A specific tip located in the middle of the shrink window states: "You cannot shrink a volume beyond the point where any unmovable files are located."
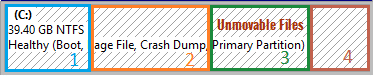
For example, if there is 40 GB of free space on the C drive, but "unmovable" system files (such as pagefiles or shadow copy storage) are located in block 3, Disk Management cannot shrink the C: drive down to block 1 or block 2. Consequently, Disk Management only allows you to shrink the C drive using the free space situated in block 4. This limitation explains why many users report that despite having plenty of free space, Disk Management offers almost no available space to perform a shrink operation.
Other Reasons Why You Cannot Shrink a Volume in Windows Server 2016
For data volumes, there is another architectural reason why you might be unable to shrink a volume in Server 2016 using Disk Management.
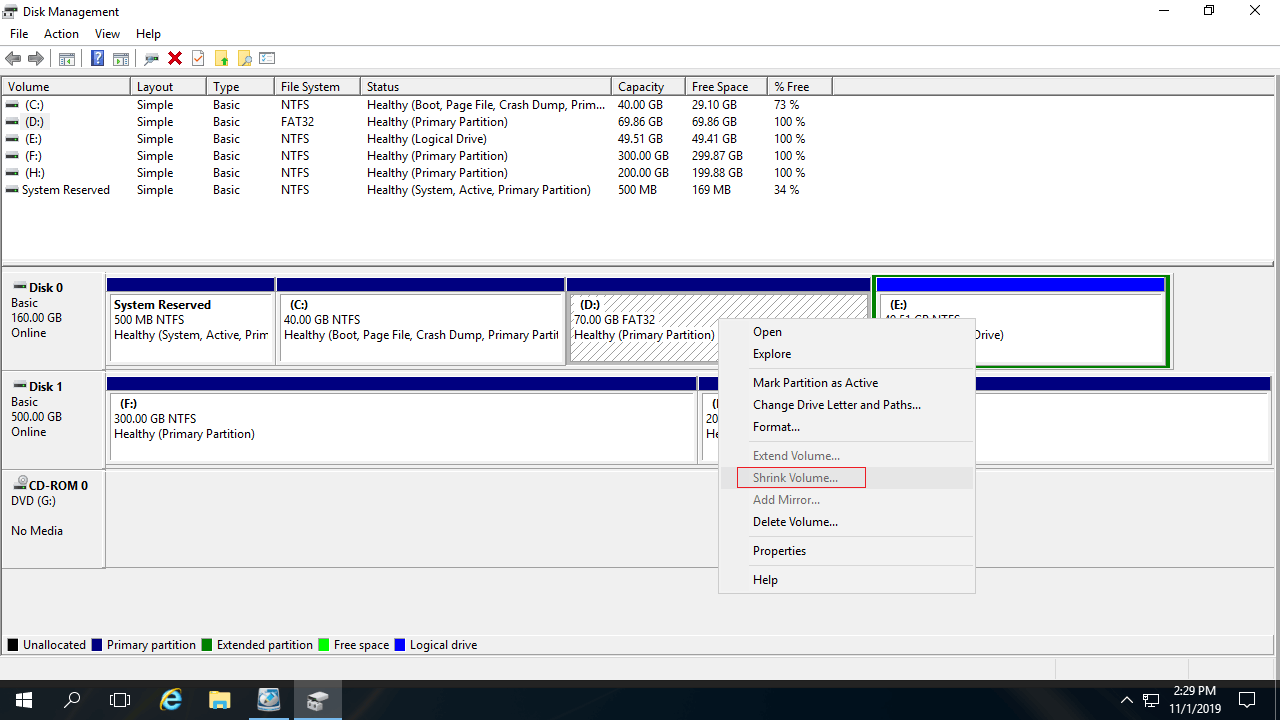
By default, Disk Management only supports shrinking partitions that are formatted with the NTFS and ReFS file systems, or volumes containing no file system (RAW). As shown in the screenshot, drive D is formatted as a FAT32 partition, which causes the Shrink Volume option to be greyed out entirely. In this scenario, professional server disk partition software is required to complete the task.
Compared to Windows Disk Management, NIUBI Partition Editor offers distinct advantages when shrinking storage partitions:
- It fully supports resizing both NTFS and FAT32 partition layouts.
- It can generate unallocated space on either the left or right side while shrinking partitions.
- It can safely move "unmovable" files during the allocation resize, allowing you to shrink a partition down to its absolute minimum physical size if desired.
Why You Cannot Shrink Volume D to Expand C
Another common issue is the inability to extend a volume after successfully shrinking another one—whether you want to shrink drive D to expand the C drive, or shrink C to expand drive D.

As you can see, the Extend Volume option is greyed out for both the C and E drives after shrinking D. This occurs because:
- The "Extend Volume" function can only merge unallocated space into the contiguous partition immediately on its left side.
- The "Shrink Volume" function can only generate unallocated space on the right side of the partition.
The 20 GB of unallocated space shrunk from drive D is non-adjacent to the C drive and sits directly on the left side of drive E; therefore, the Extend Volume option becomes unavailable for both drives.
Whether you cannot shrink a volume in Windows Server 2016 or cannot extend a volume after shrinking another, NIUBI Partition Editor can resolve your issue seamlessly. Follow the step-by-step procedures demonstrated in the video tutorials below.
How to shrink C drive to expand other volumes:

How to extend C drive by shrinking other volumes:
In addition to shrinking and extending partitions in Windows Server 2025/2022/2019/2016 and older iterations such as Server 2012/2008/2003, NIUBI Partition Editor helps you safely move, merge, copy, convert, defragment, hide, or wipe partitions, scan for bad sectors, and perform much more.